Setting Up Coolify In Proxmox
So currently my favorite way to run most services is inside of a LXC container in proxmox. The reason for this is that my servers have a lot going on, and running coolify in an LXC makes it easy for me to move it around my proxmox cluster, and also its very light weight.
I recently provisioned a new proxmox server, so I am going to walk through how I configure coolify within a LXC/proxmox.
Prereqs#
- Server with proxmox installed
- Either multiple static IP addresses available, or a cloudflare account
- A domain name
LXC Container Setup#
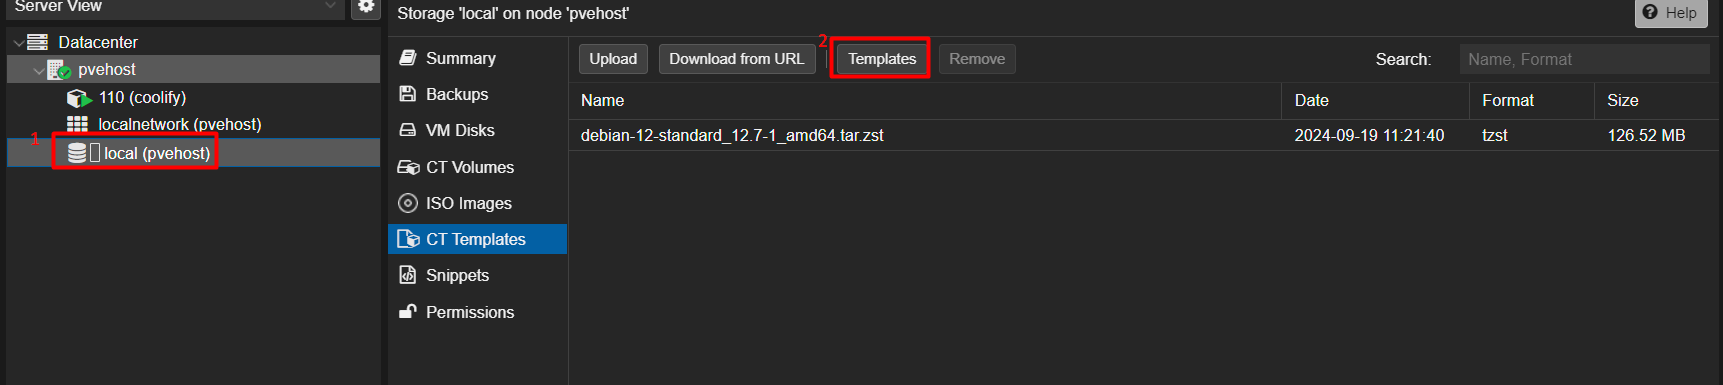
- So first we are going to login to the proxmox UI, then navigate to your main storage disk, and under CT templates download your preferred linux distro CT image. I am using debian 12.
- Now click the create CT button in the top right
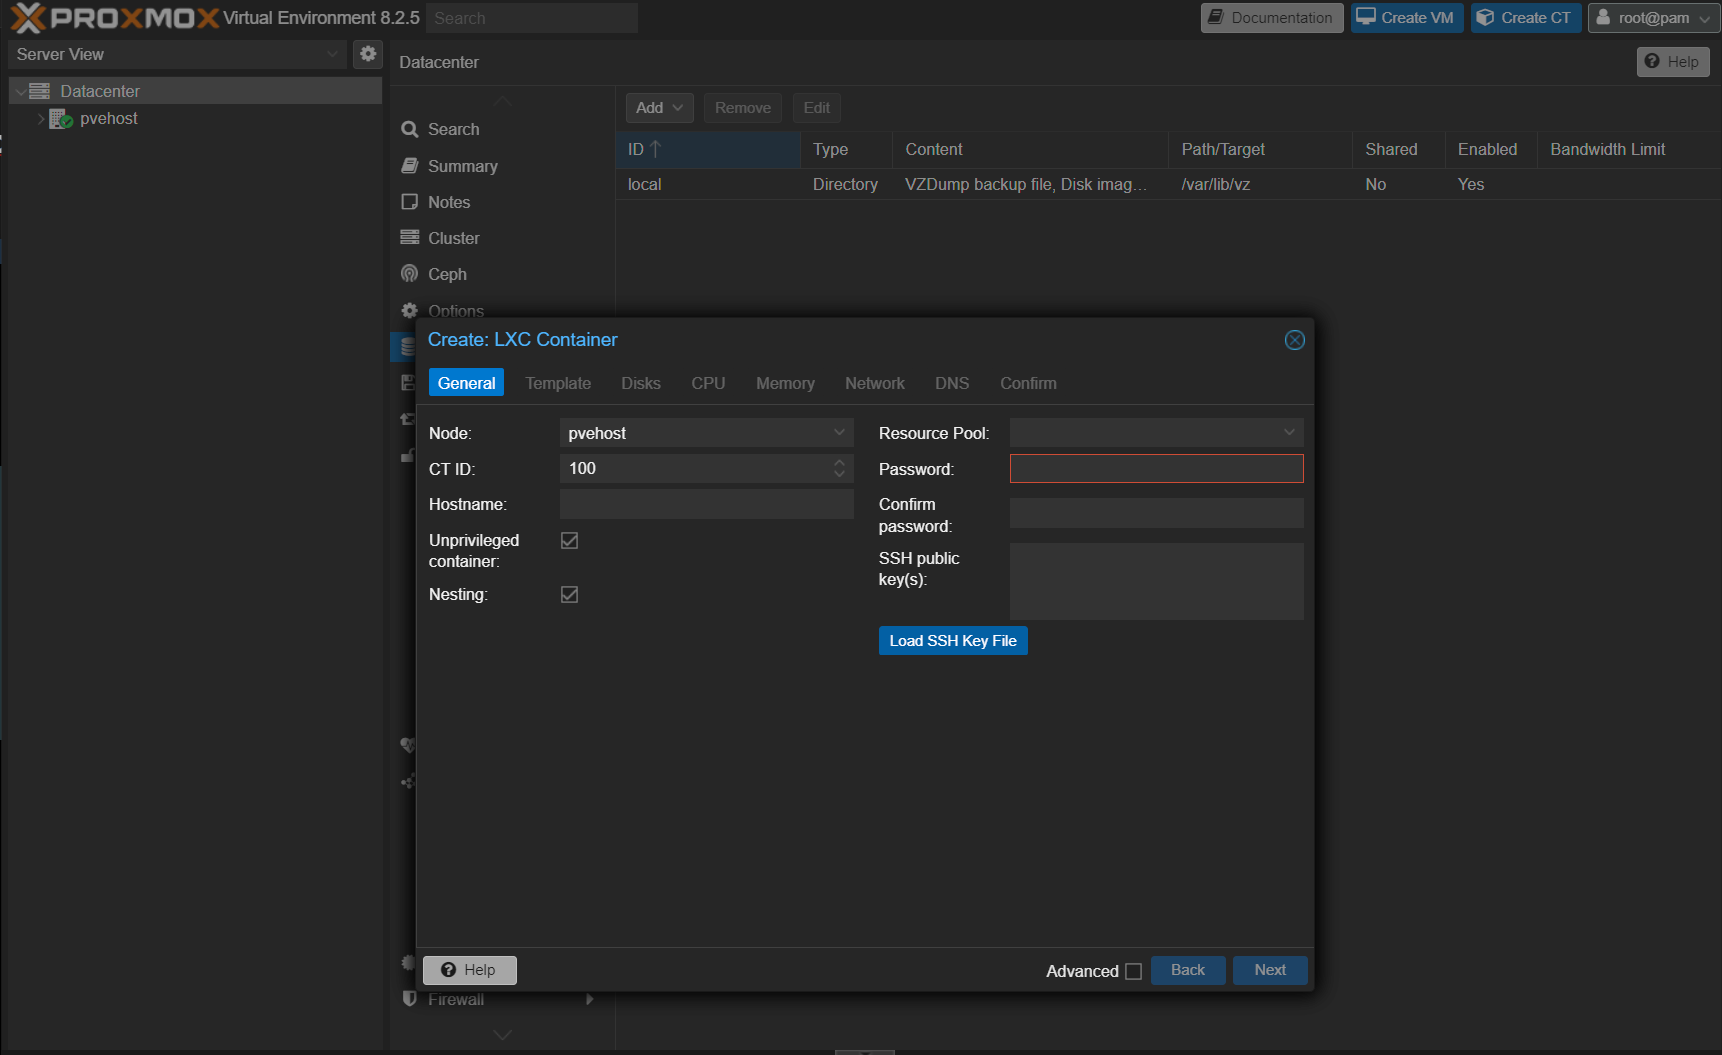
- fill in
hostname, uncheck unprivileged container, enter passwords, and optionally SSH pub key if you want key auth into your container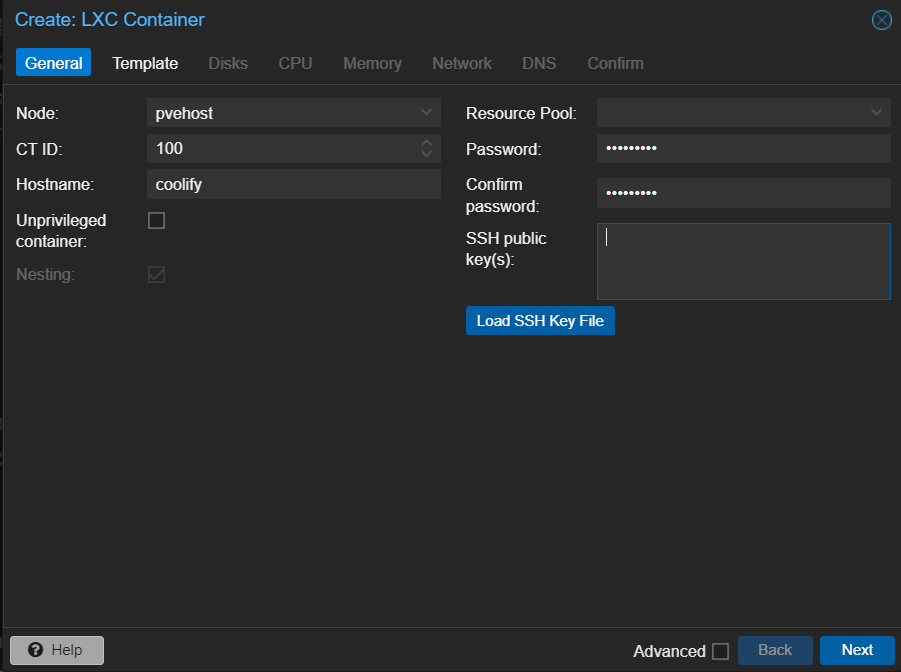
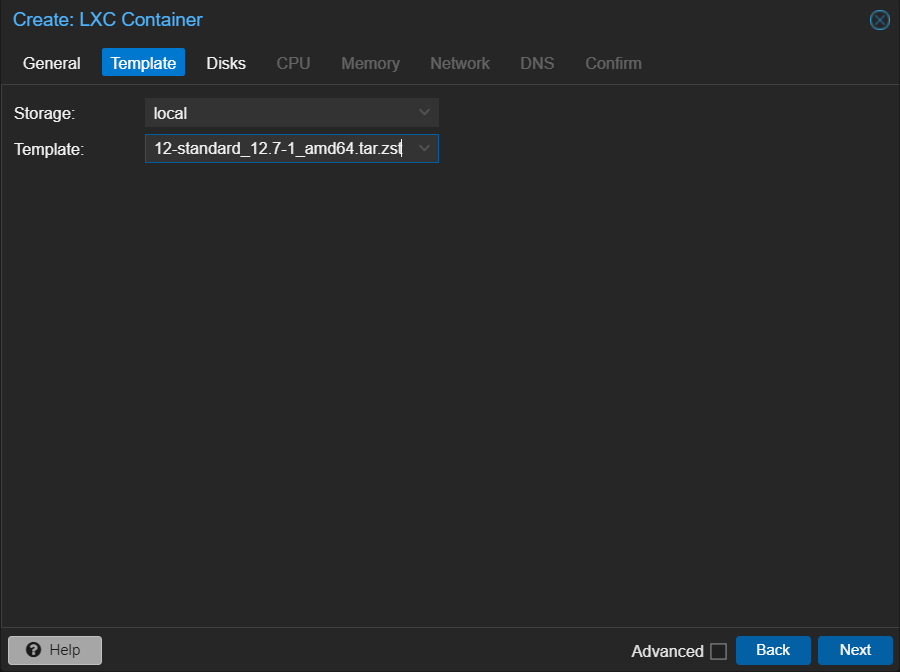
- Select the CT template you downloader earlier, in my case debian 12
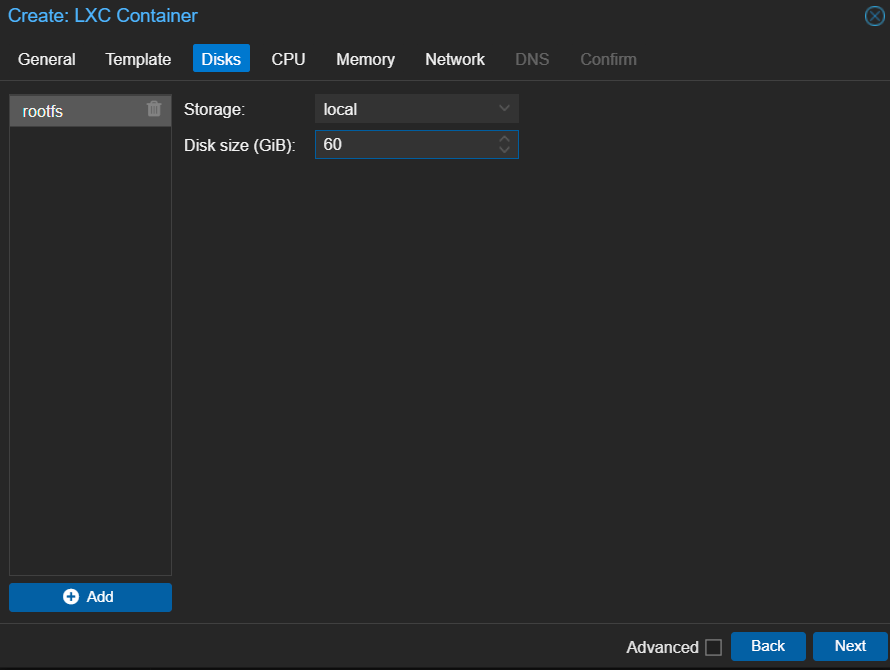
- specify your disk storage amount, i use somewhere between 60-100gb, you can always expand this later.
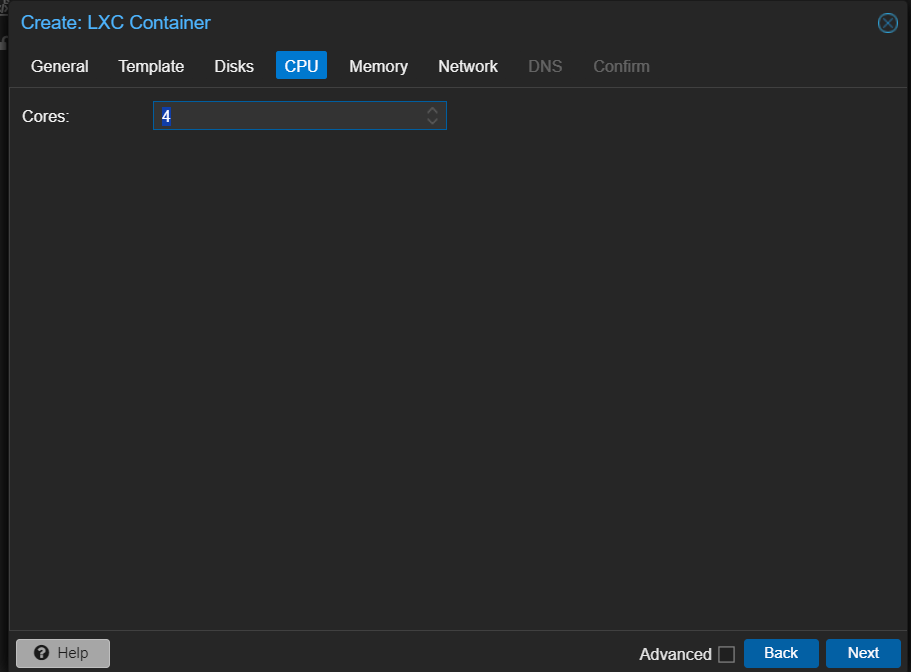
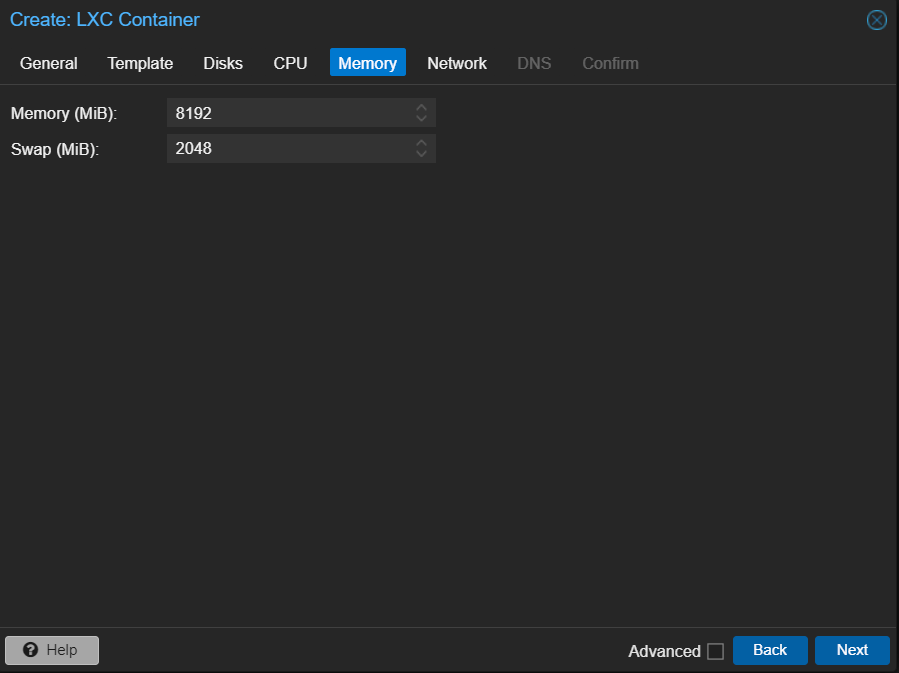
- Enter your cores and memory amount, I generally would reserve 25% of the host capacity atleast depending on what server specs you have. If this is a light weight server you are only using for coolify, you could commit more.
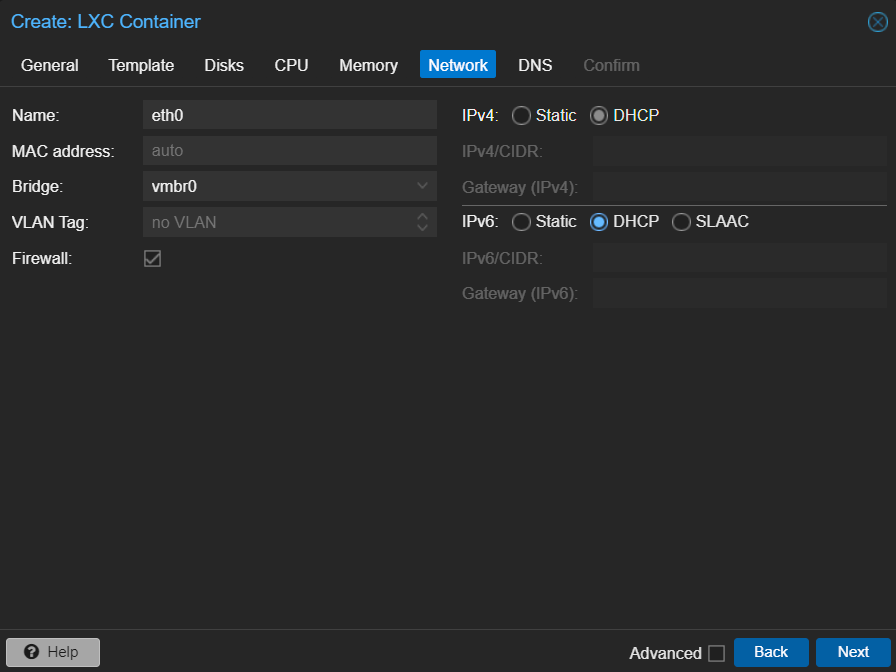
- The networking tab is where this might differ depending on your server setup. In my setup, I have a set of /29 IP’s, meaning that I have 4 additional IPs not including my proxmox server’s IP. So I will enter the next IP after my proxmox server’s (e.g. if my proxmox server is 127.0.0.50, i will use 127.0.0.51) and also use the same gateway as I can see in the host node’s network tab. Also my server doesn’t have a dedicated IPv6, so I will leave it blank.
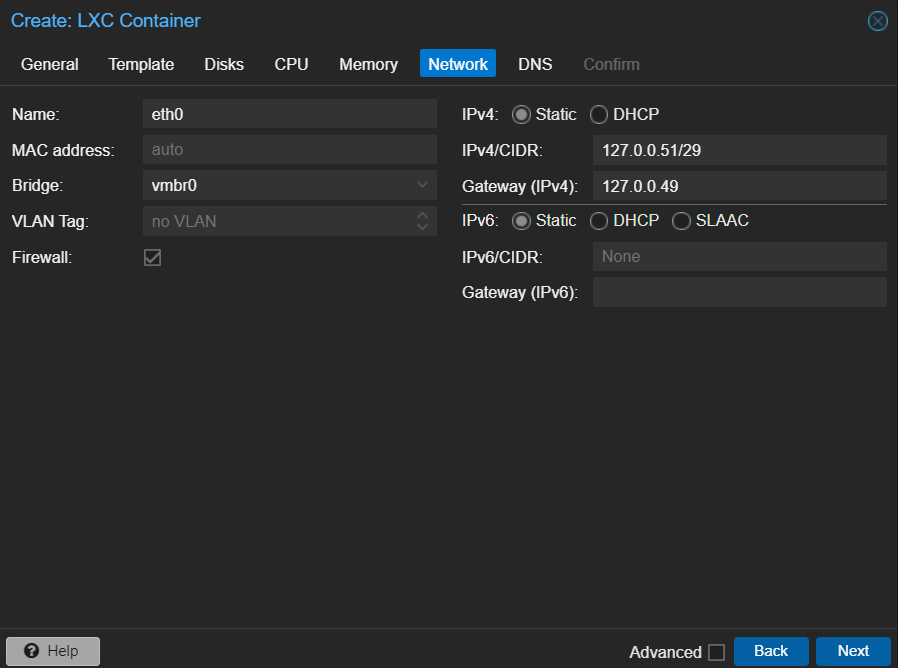 If your server only has one dedicated IP, you will set this to DHCP and proxmox should assign the container a local IP within its LAN and you should be good to go. But remember you will need to setup cloudflare tunnels additionally so that you can resolve your services/websites to the container.
- Leave DNS alone and continue clicking by finish
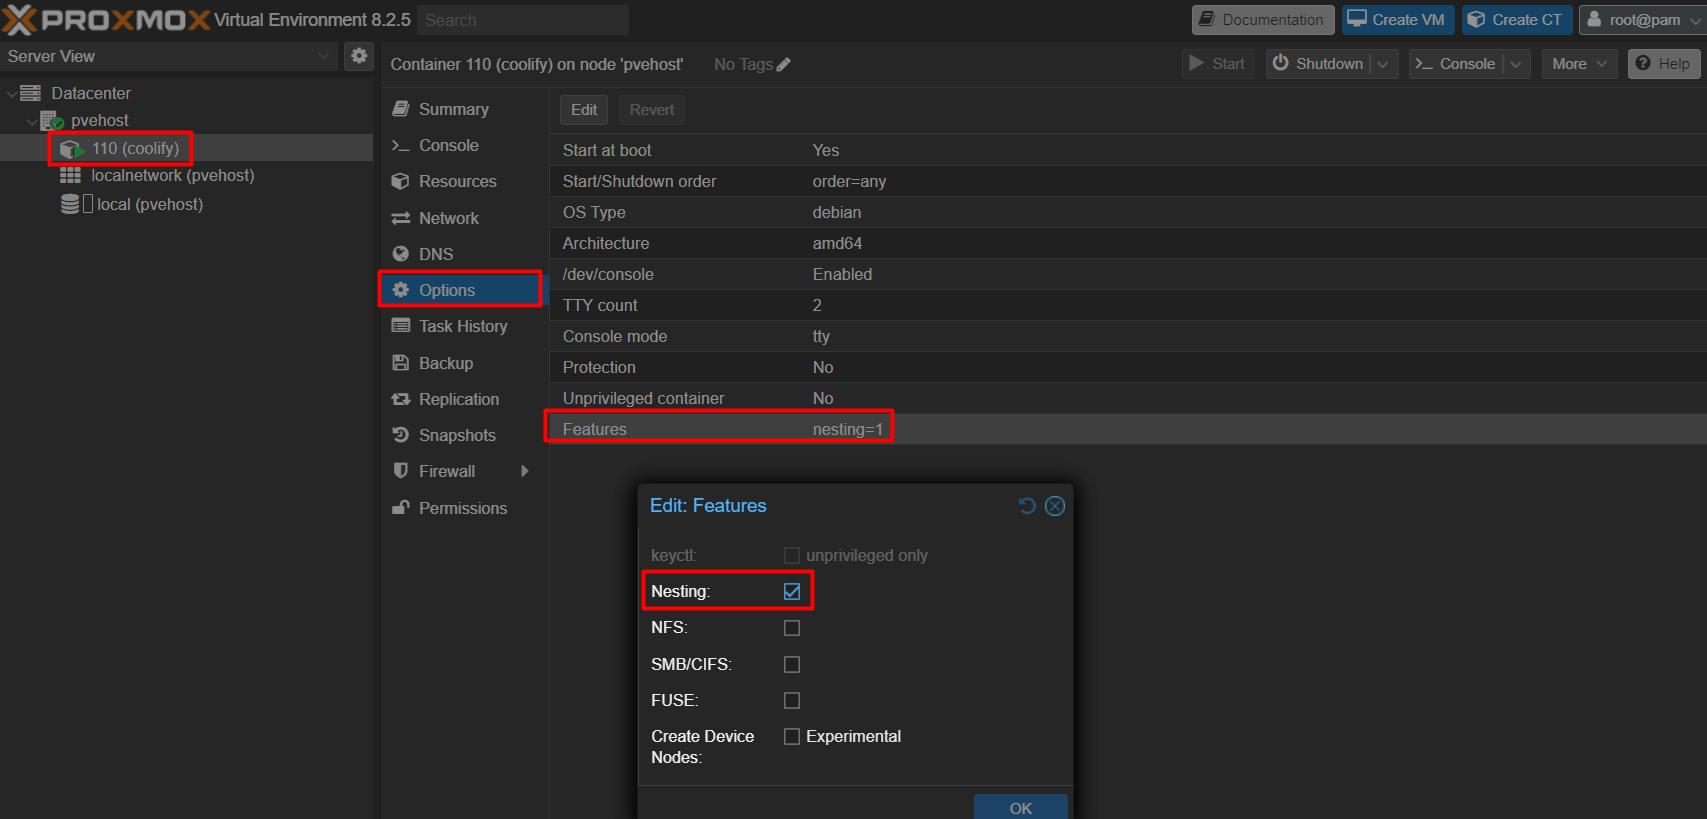
- Find your newly created LXC in the left hand side, and go under options to enable the nesting feature flag which will enable nested virtualization.
- Now you should start the LXC by clicking the start button in the top right. After it starts, you can enter the console tab, logging in with the specified password from step 3. After logging in we will continue to installing coolify.
Coolify installation#
- Before we can install coolify, we will need to run
apt install curlso we can run the coolify oneliner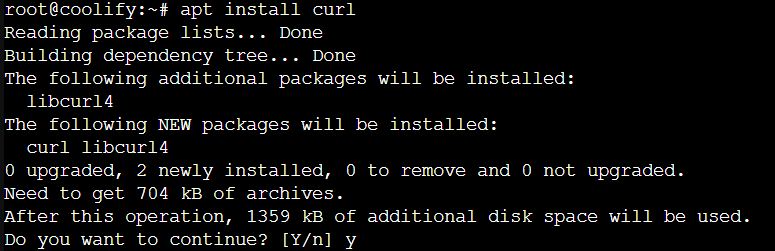
- Now will follow the instructions per coolify’s self hosted page, simply right click paste in the one line command
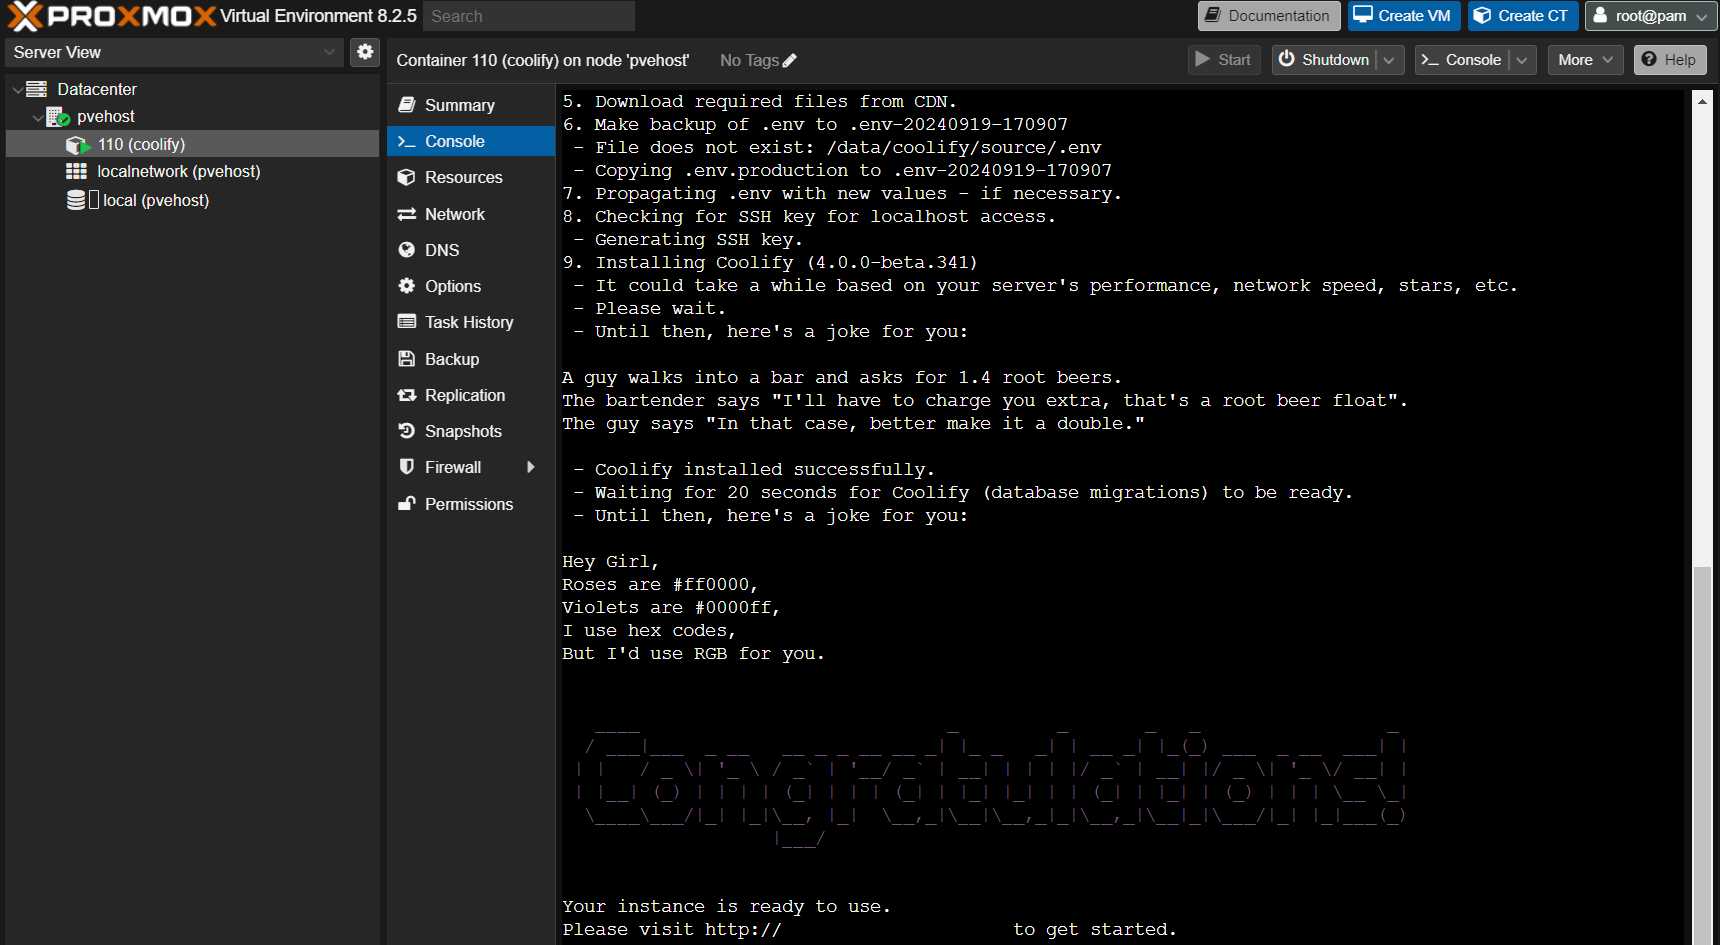
curl -fsSL https://cdn.coollabs.io/coolify/install.sh | bashinto the console window, and follow the prompts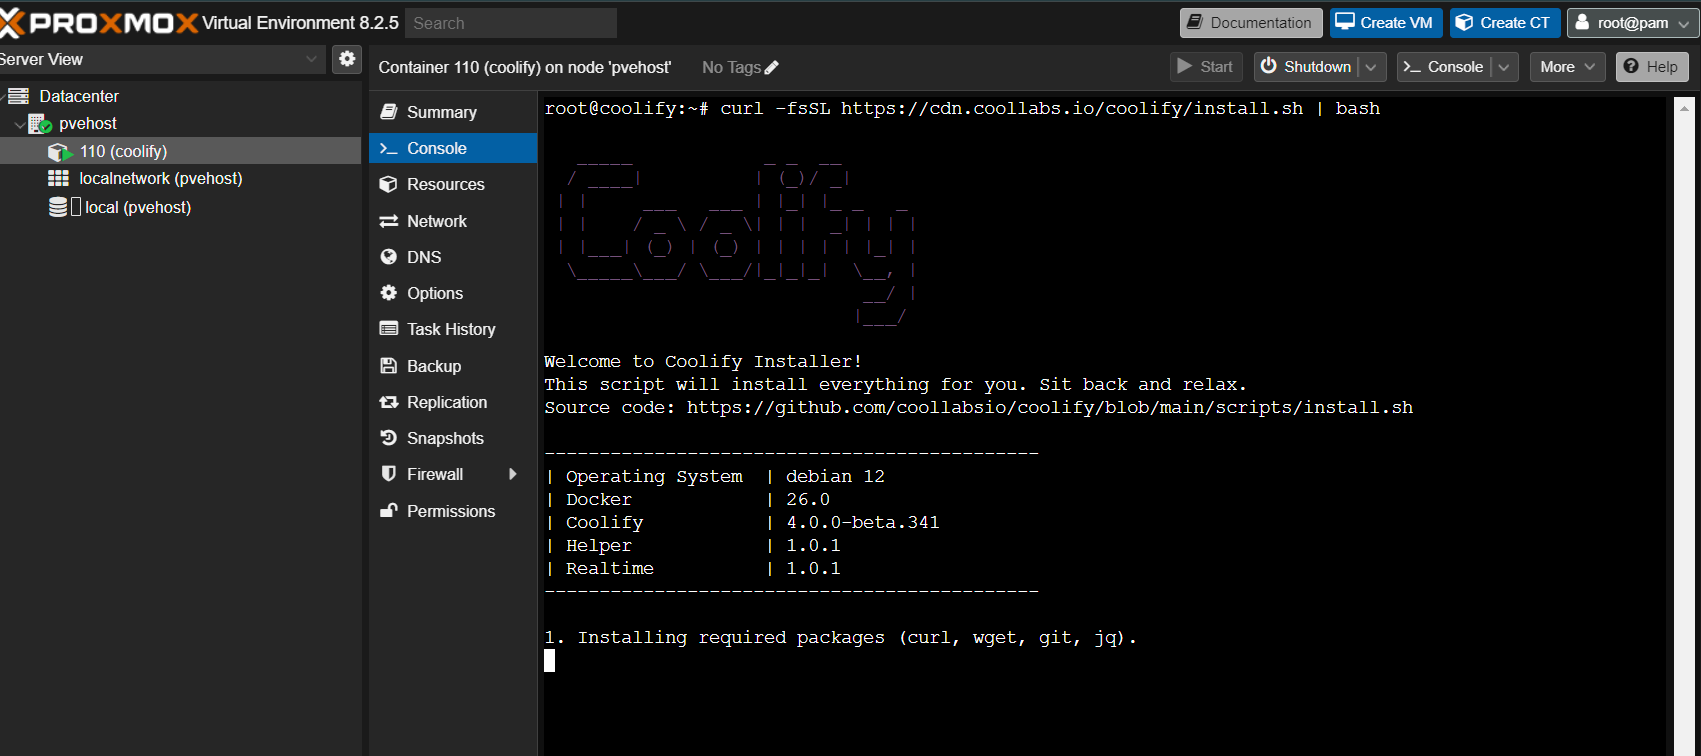
- Once the installation is finished, you will receive a URL to go login into
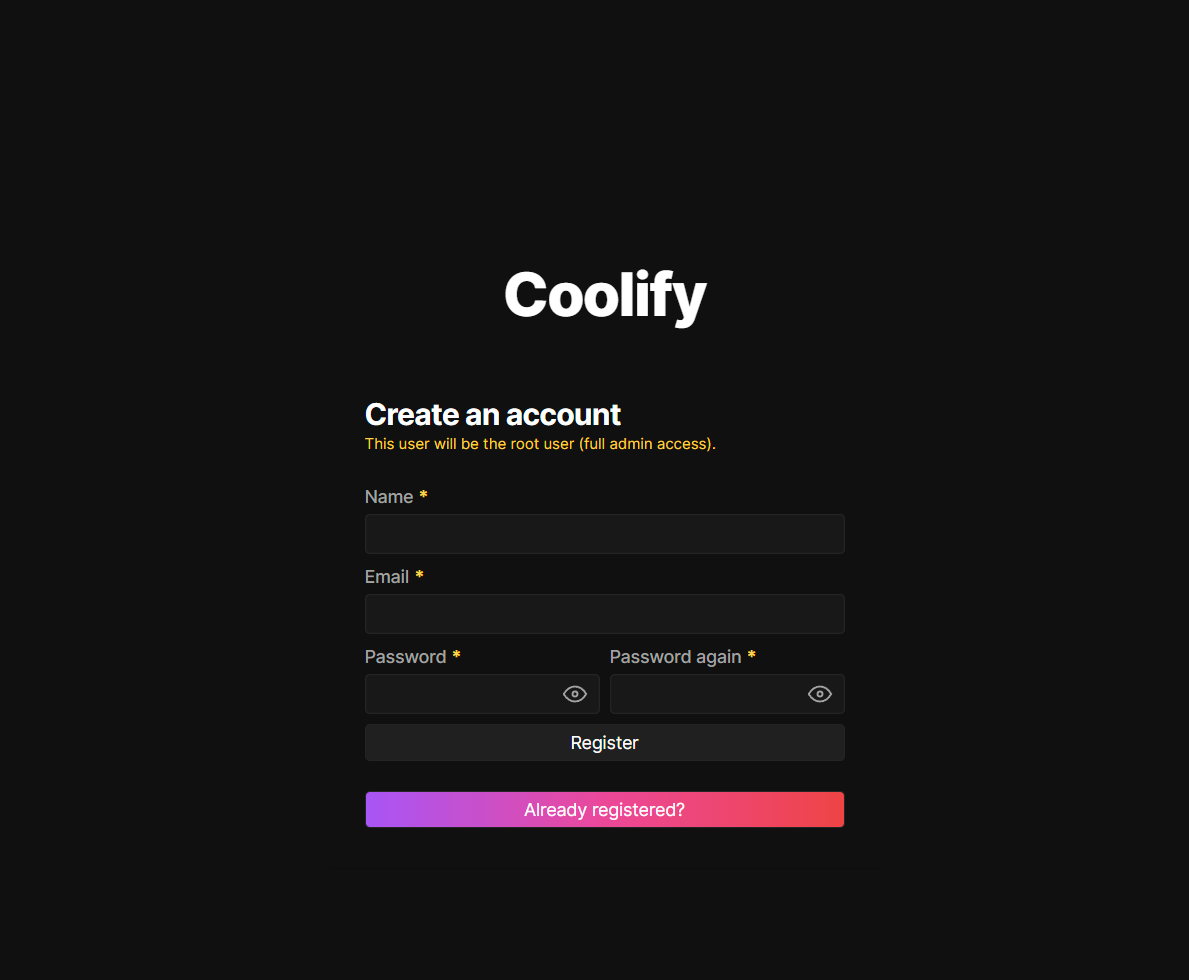
- Go to that URL, and register your admin account
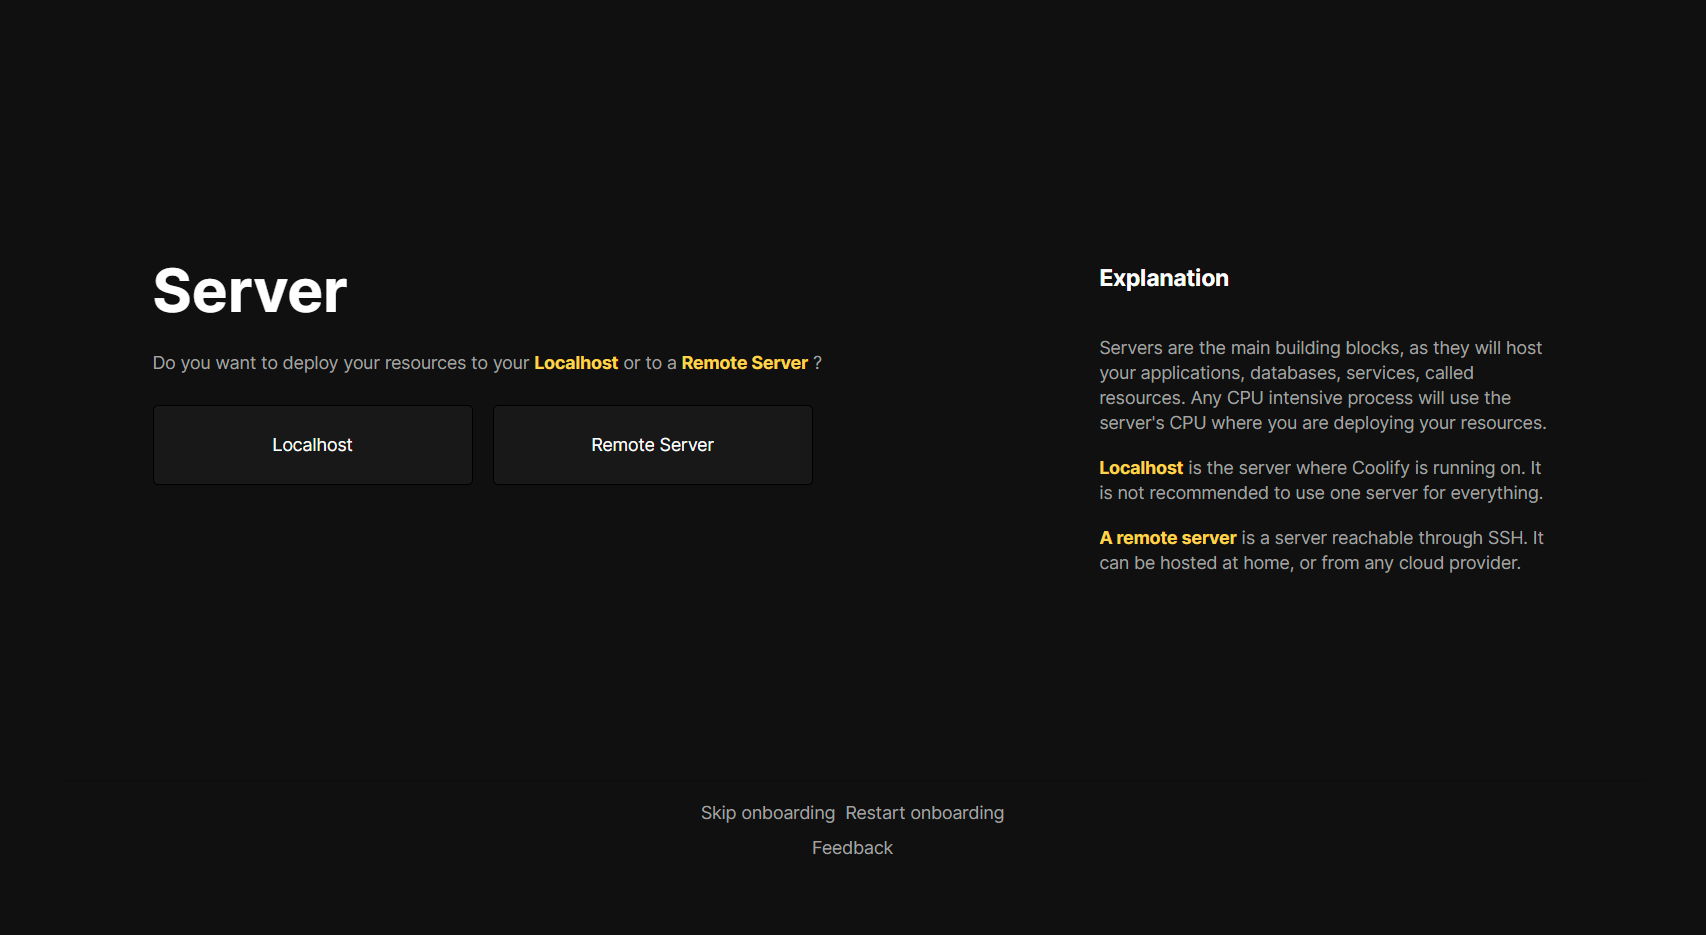
- Then you will be guided through onboarding for this coolify instance, in the second prompt you will want to specify localhost. Then you can create your first project in coolify
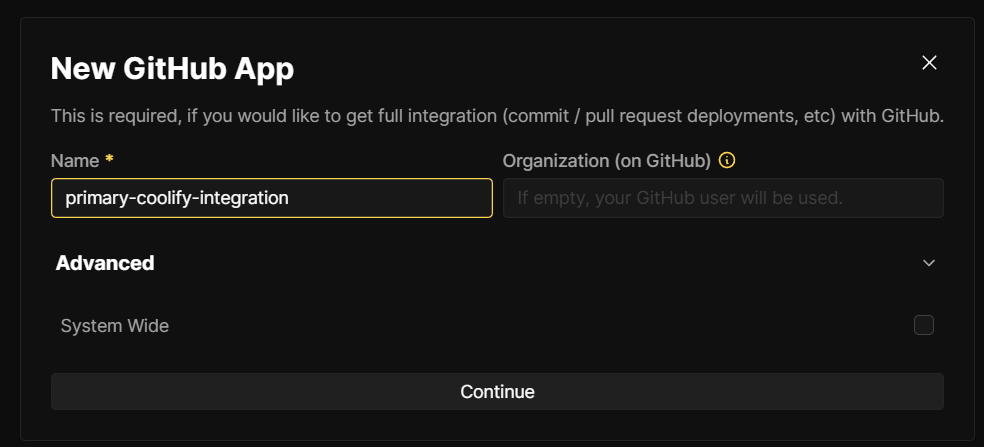
- I use the project creation step of onboarding to get my github app created with the correct permissions into all my personal repos. You can name it whatever you want but just follow the steps to make the github app
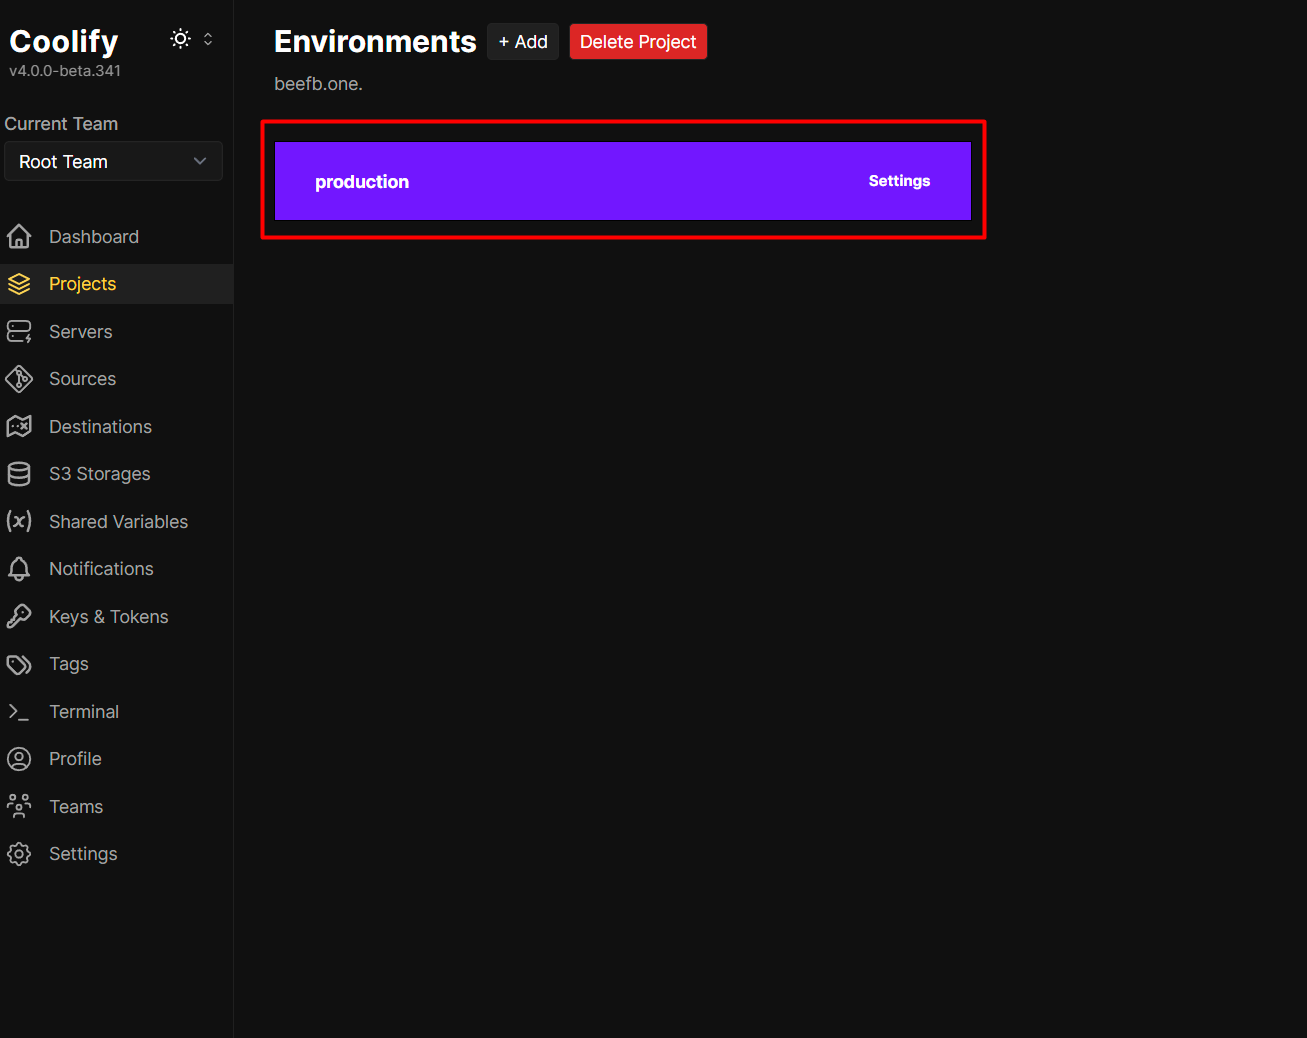
- After installing and specifying what repos you allow it to access (I just do all, you can decide if you want to do specific ones, etc.) I continue to onboard a personal site by going to the projects tab and creating a new one

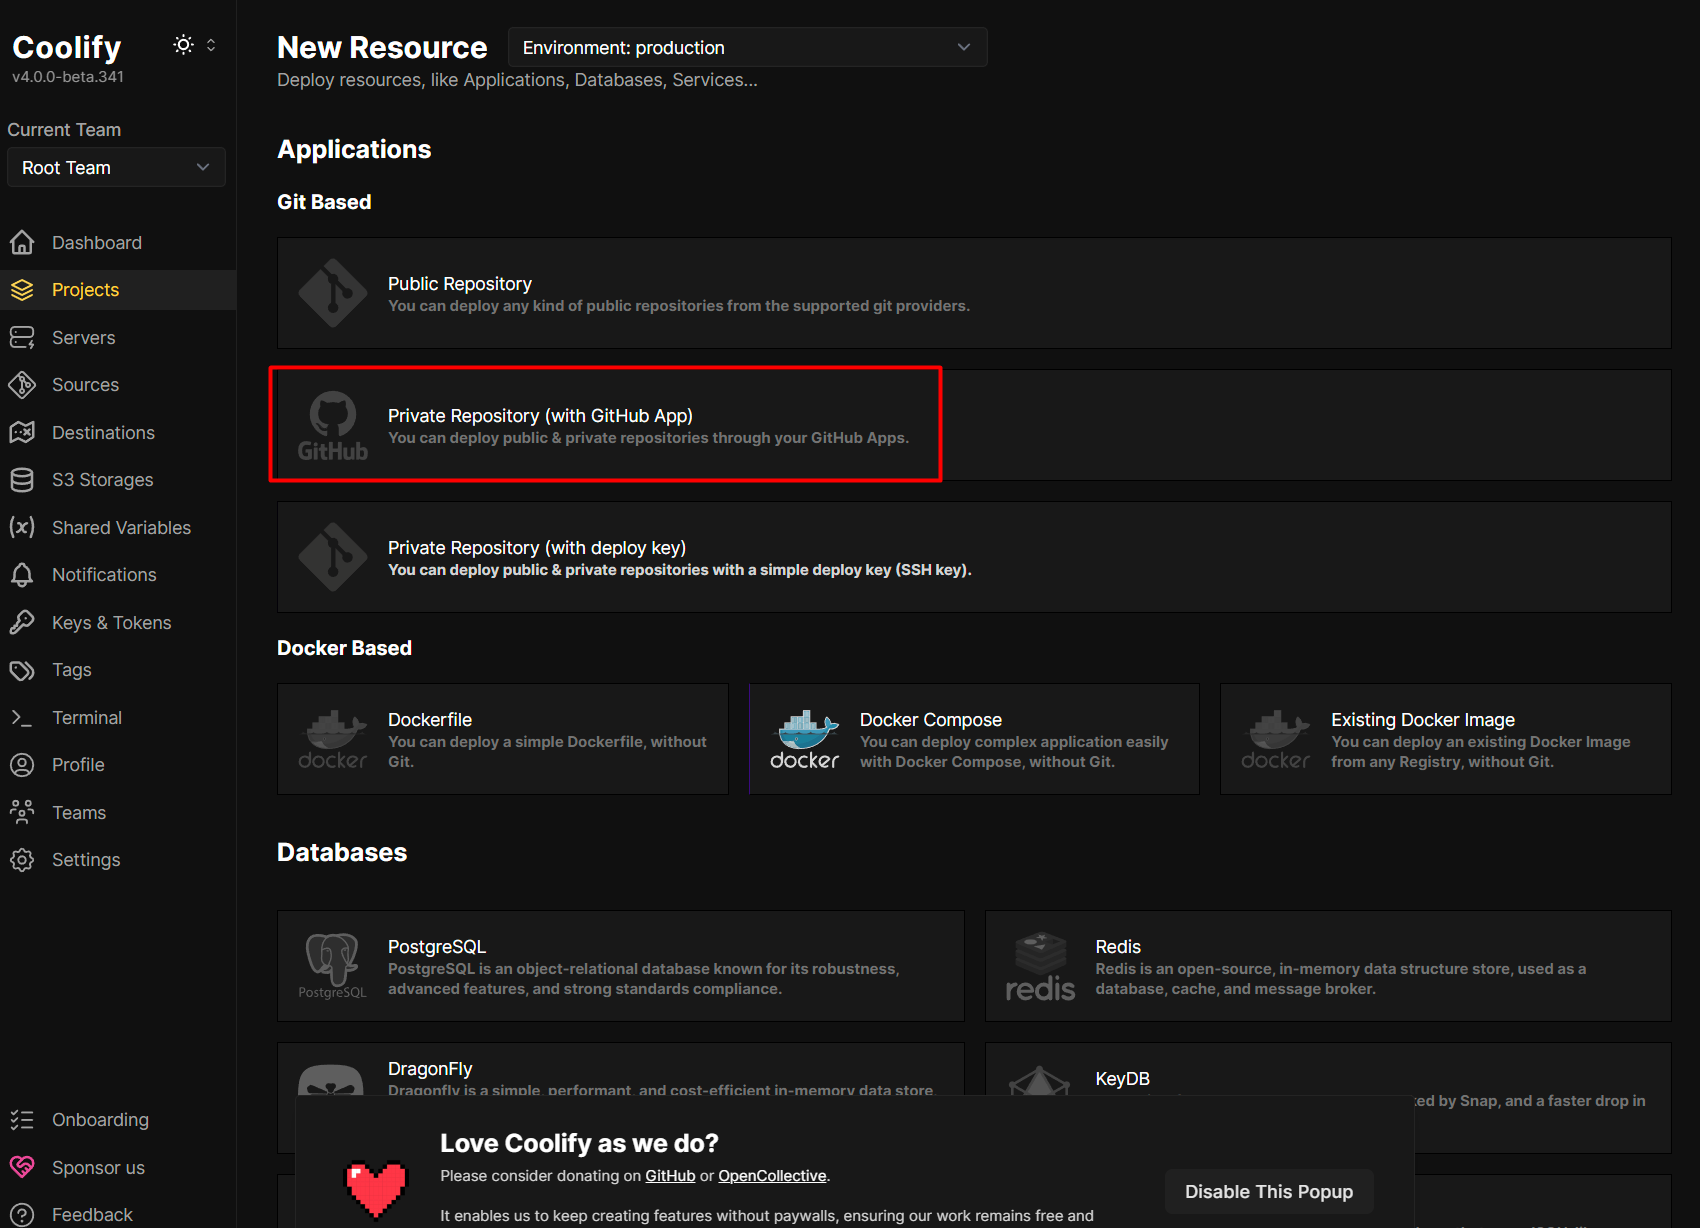
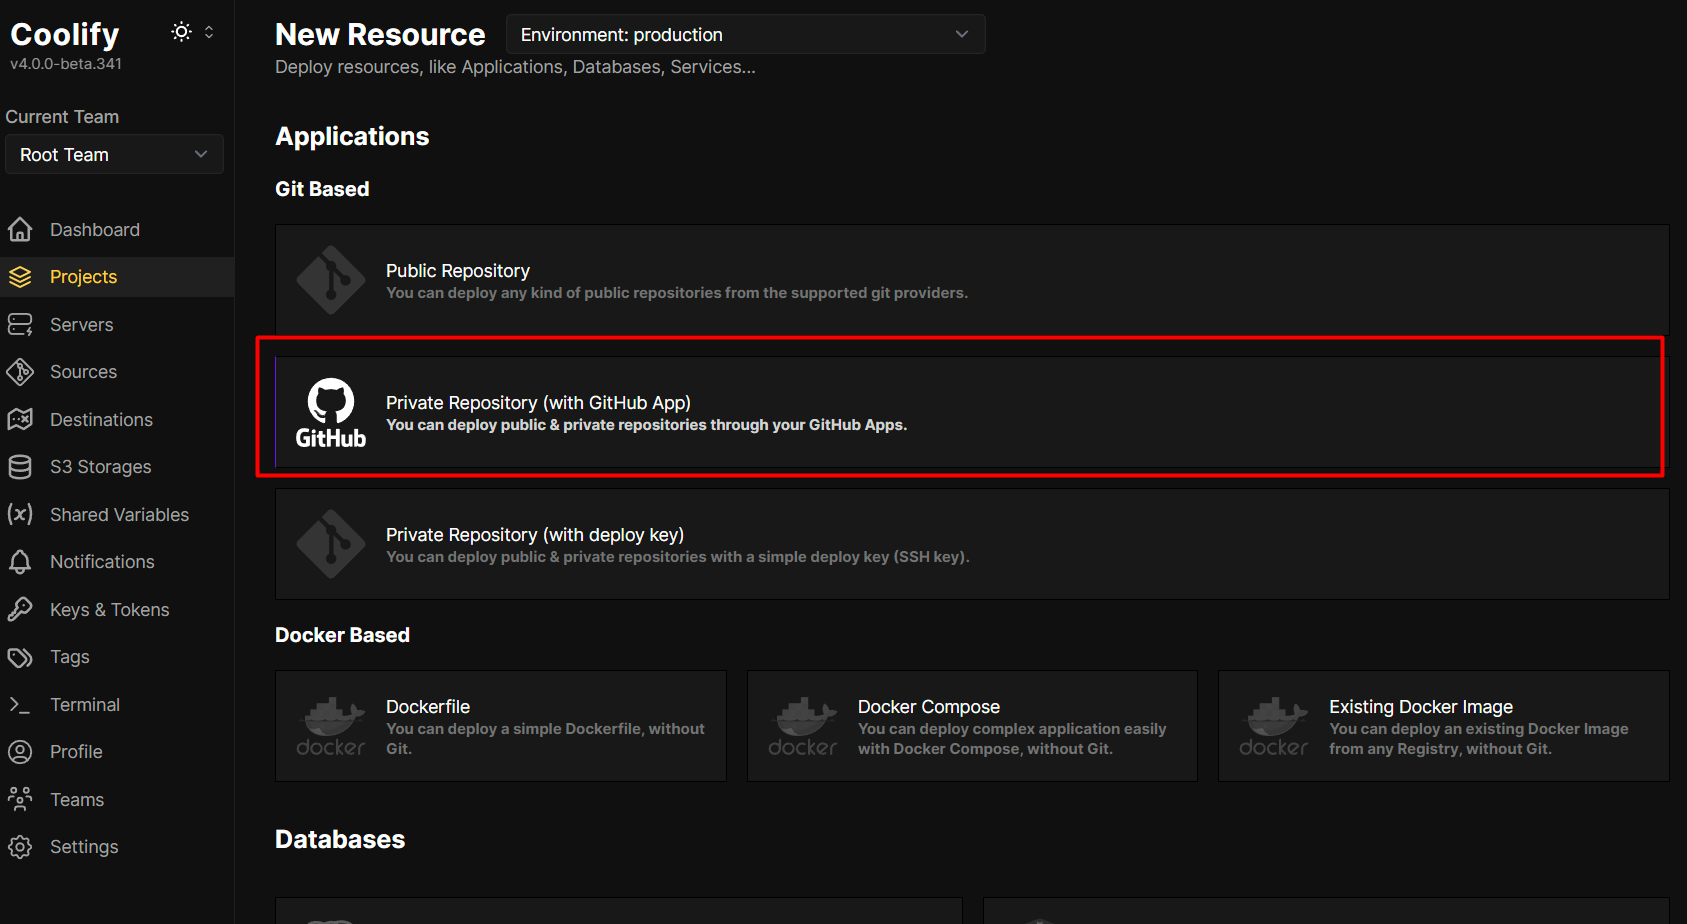
- Go under the production environment, I add a new github private repo resource and select my project’s git repo
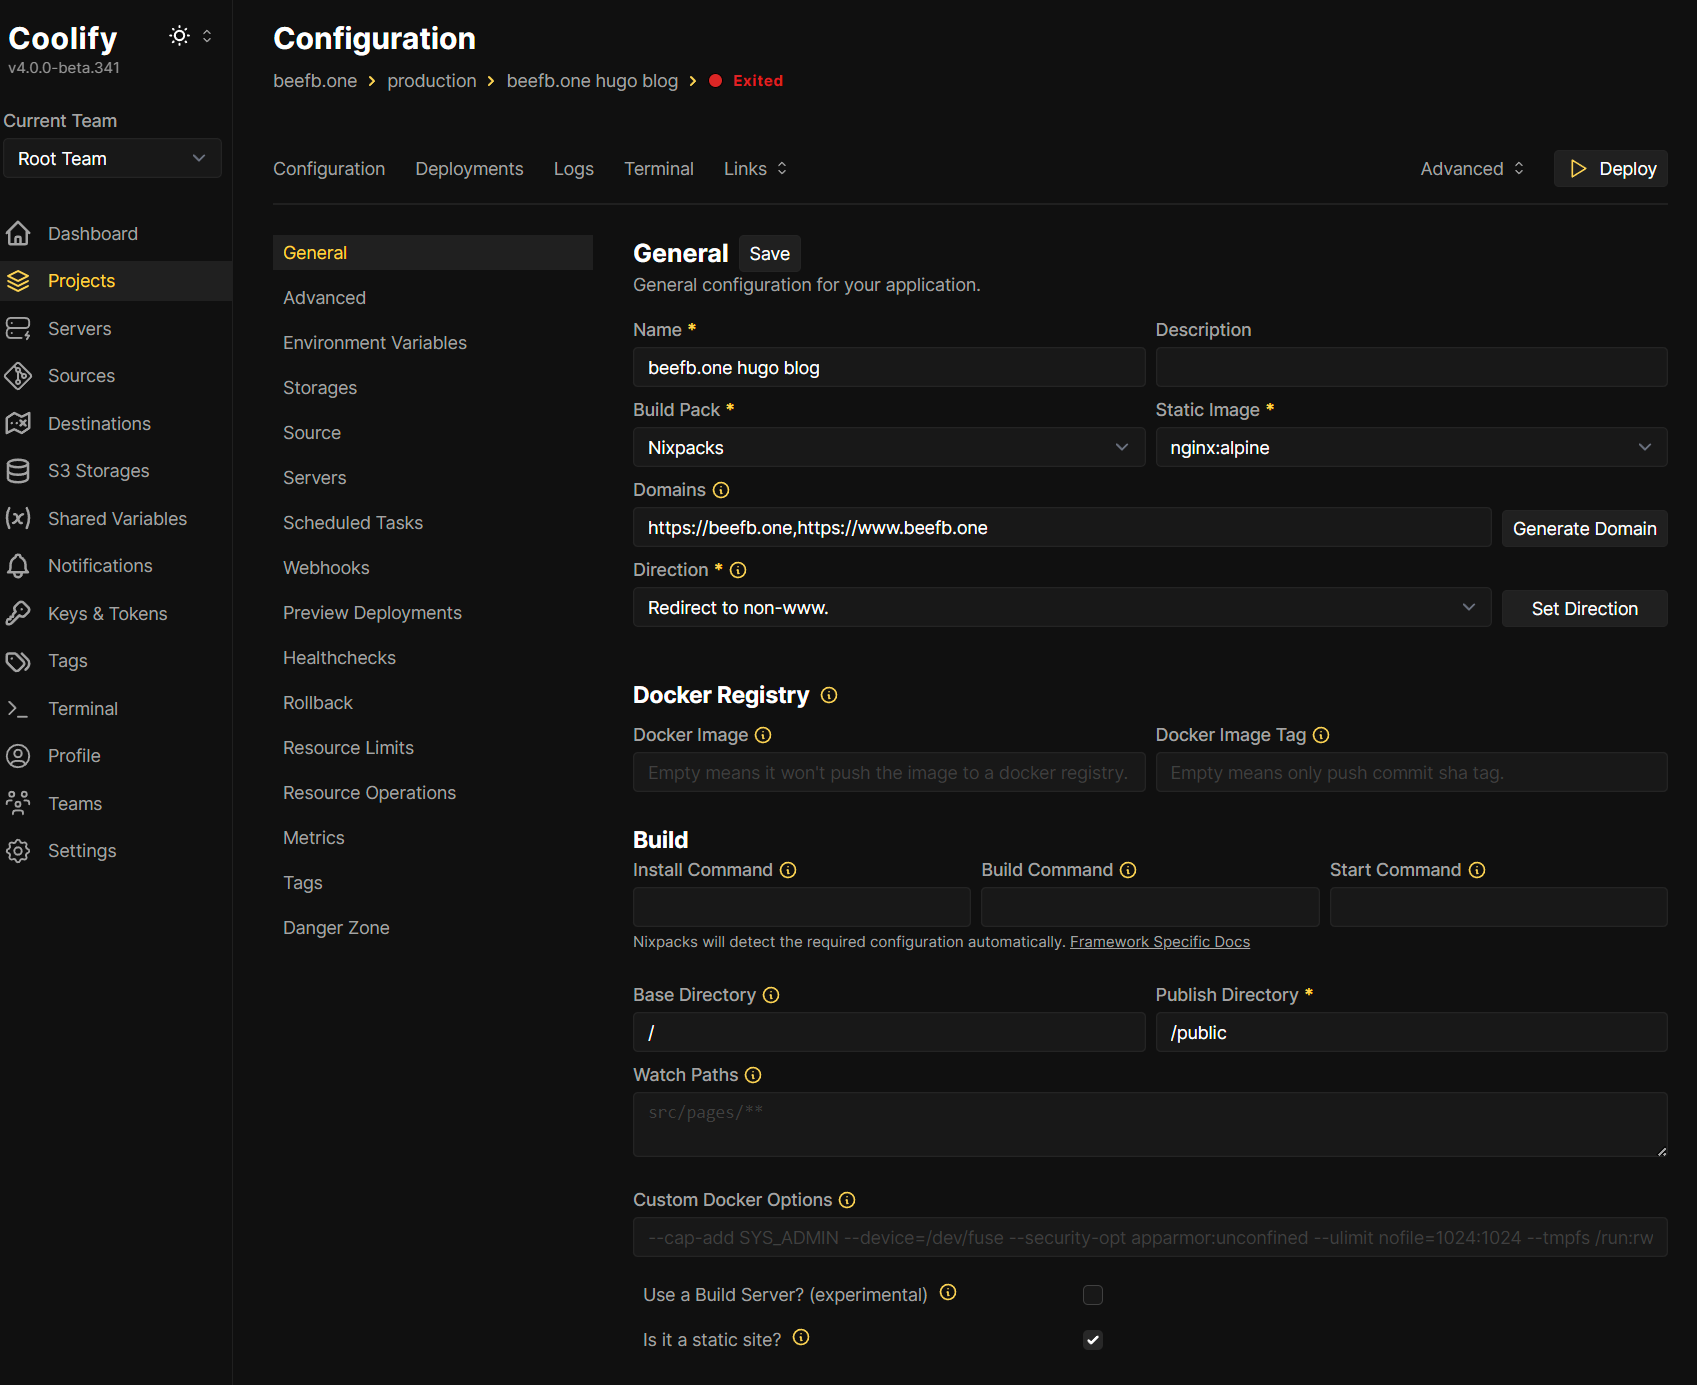
- Then you will follow the rest of the steps to initially deploy the project. Specific configuration can depend on what type of project you are deploying. See the application section of https://coolify.io/docs/ for more info. For me I am deploying hugo, so I will add my specific domain, my redirect settings, the build output directory, and that its a static site. This also relies on some config within the repo that I posted here. Make sure you hit save!
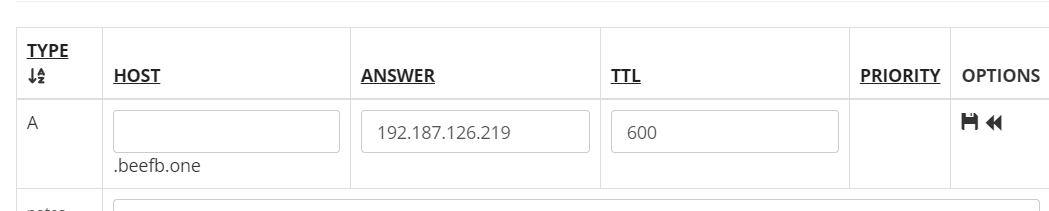
- Now before we goahead and deploy, we need to ensure that we have your desired domain pointed to the server’s static IP address. For those without a static IP for coolify, you will be configuring your domain to point to cloudflare so that it will resolve to your tunnel. Refer to the cloudflare tunnel docs for what that entry should be, and see step #12 for more info. For me, I am just updating some DNS records in porkbun.
- Now we will go back to our deployment and deploy things, this can take a while depending on your server.
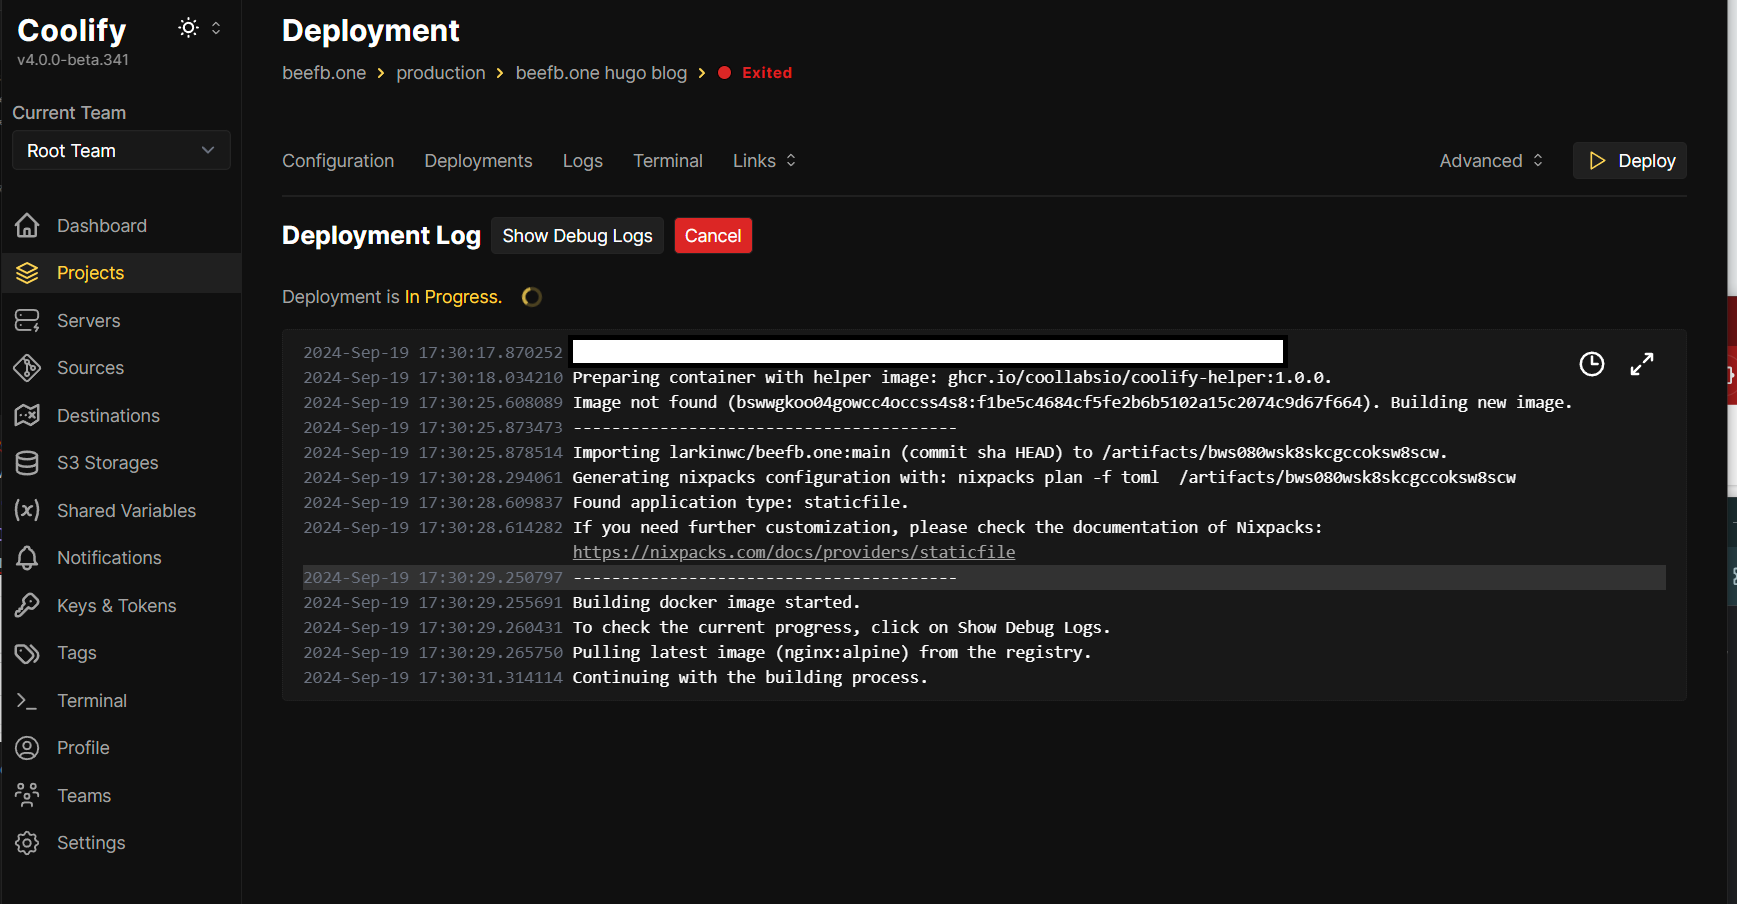
- Now your site should be available. For those using cloudflare tunnel, you will want to ensure you have a cloudflare daemon running, so you can follow this guide, or in the future I will update this post with more details once I run through the cloudflared setup again on my local server.
Read other posts